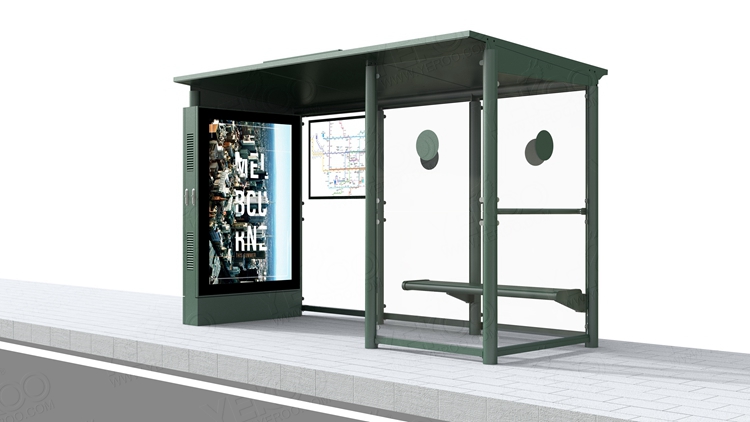
While bus shelter brings convenience to citizens, how to install it has become a headache for many customers. Today, I will introduce the installation steps of the shelter.
First of all, let's learn about the main structure of a complete waiting booth: a waiting booth is composed of a ground cage, a column, a seat, a box, and a ceiling from bottom to top.
1. After determining the product style, we will first make a detailed drawing of the foundation of the appropriate anchor cage, which is the first step in the installation of the waiting booth. After receiving the anchor cage, the excavated foundation pit shall be filled with concrete and anchor cage and solidified about a week in advance to ensure that each embedded part of the anchor cage is maintained at a level.
2. After the foundation cage is placed in the foundation pit and the concrete is solidified, the column can be installed. Considering that the box and ceiling need to be installed later, the bottom of the column does not need to be fully fixed.

3. The light box is fixed on the column through reserved holes and screw gaskets. The same progressiveness is initially positioned and fixed after the ceiling is in place.
4. Most ceilings are installed by inserting specially-made plug-ins into the columns, and then fixed by screws, gaskets, and columns. Generally speaking, the lifting of the ceiling requires the use of a crane, so it is better to arrange the necessary machinery and equipment in advance when installing the ceiling, box, and other components.
So far, the bus shelter has been installed, but if there are optional functions, such as solar energy, intelligent system, and other functions, you only need to add them to the installed bus shelter.


 Share to: